Friday, July 27, 2018

Snickerdoodle Cake :)

Snickerdoodle Cake
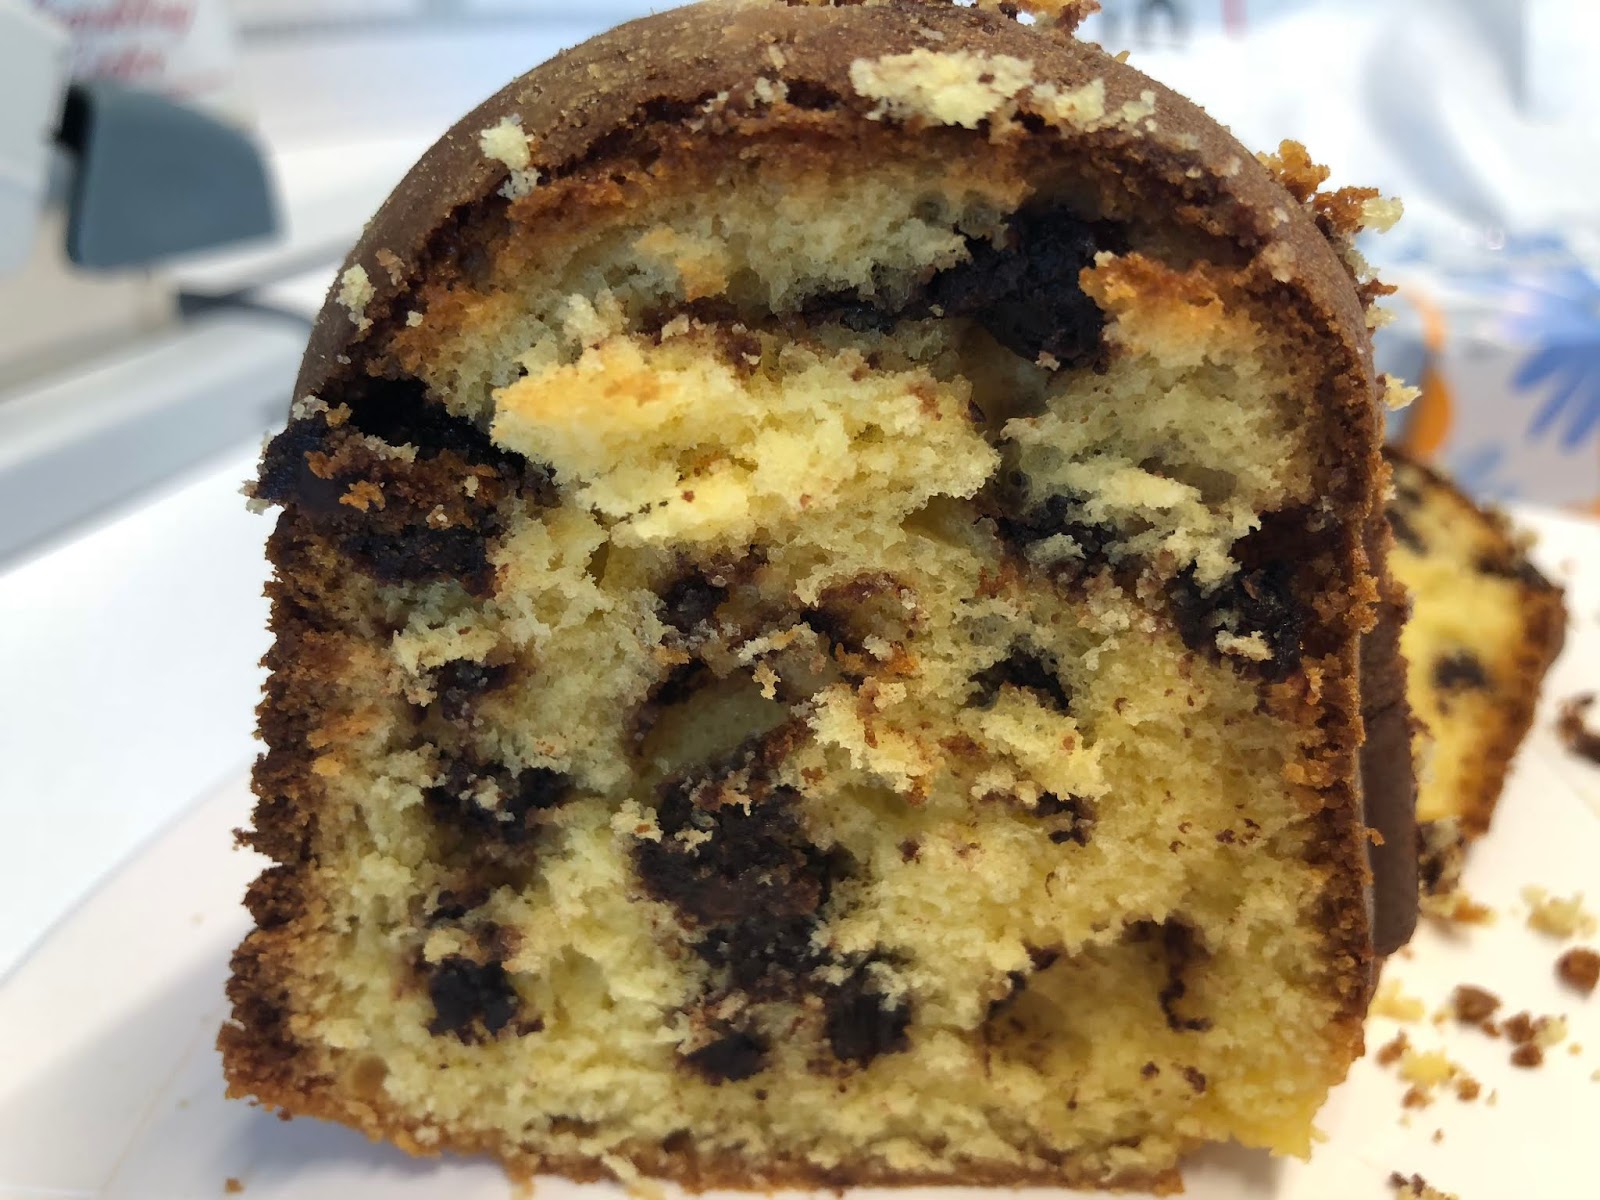
Yield: one two-layer cake

I had a co-worker who was begging me to make a snickerdoodle cake (or cupcakes).  As I was going through my baking books, I came up this recipe.  I had a lot of fun with this cake, despite a change in plans when my new Wilton tips didn't come in time to decorate!

I made both the cake and frosting from scratch, but feel free to use canned frosting.  I used my Kitchen Aid mixer for both parts.


Cake:
Ingredients:
1 cup unsalted butter
2 cups granulated sugar
6 large eggs
1 1/2 cups all-purpose flour
1 1/2 cups cake flour
1/2 tsp baking soda
1/2 tsp baking powder
1 tsp salt
1 cup sour cream
2 tbsp vanilla
2 tsp cinnamon

Bake cake at 350 degrees Fahrenheit

Recipe:
  1. Let butter sit out until softened (45-60 minutes).
  2. Cream butter about 2 minutes, then add just under 2 cups granulated sugar (I used ~ 1 7/8 cup).
  3. Scrape down the side of the bowl, then beat again.
  4. Add in eggs one at a time.
  5. In a bowl (at least 4 cups in size), add in the all-purpose flour, cake flour, baking soda, baking powder, and salt.  Instead of sifting the flour (which you can do), I used a fork to "sift" it into smaller pieces.  Just take your fork and use it like a whisk for around a minute.
  6. Add in about 1/2 of the flour mixture, in two increments.
  7. Mix in the sour cream, then add in the other half of the flour mixture.  Beat until the flour is JUST incorporated.
  8. Last, add in the vanilla and cinnamon.
  9. Grease your cake pan with PAM or olive oil spray.
  10. Spread batter evenly and bake.  It took about 20-25 minutes for the cake to bake. (Hint: pick the pan up about 2 inches and drop it onto your counter top at 5+ times to even out the cake layers before baking)
  11. Let cake cool 5-10 minutes and then take out of the pan.  When completely cool, frost the cake.
Frosting:
Ingredients:
1 cup unsalted butter
3 cups powdered sugar
2 tbsp vanilla
pinch of salt
cinnamon

Recipe:
  1. Let butter sit out until softened (mine sat out for 2 hours).
  2. Cream butter about 30 seconds, then add in powdered sugar.  Mix until it becomes a flakey mixture.  This will take ~3 minutes.
  3. Add in the vanilla and salt, mixing until you reach the desired consistency for the frosting.  Keep the cinnamon aside, it will be used during the decorating process.

Putting it all together:

Recipe:
  1. Level off the cakes.
  2. Add a think layer of frosting on top of the bottom cake-layer.
  3. Put the second cake layer on top of the frosting.  Frost the top of the cake.  Sprinkle cinnamon on top, and then using your knife or frosting tool, mix in the cinnamon.  See the picture on the right for the speckled cinnamon look.
  4. Use the last of the frosting for the sides of the cake.
Bring to Work or a Party 
(I had to peel it away from my co-workers to bring home for later)


Thursday, July 19, 2018

Chocolate Chip Sour Cream Cake

Chocolate Chip Sour Cream Bundt Cake
Yield: 1 Bundt Cake

I am sharing a family recipe today, as well as a family favorite.  This is our go-to cake.  This is a very simple, easy-to-make cake that cannot go wrong.  If you're not a sour cream fan, don't worry, you will still love this cake!


Ingredients:
1 stick unsalted butter, melted
1 Box Yellow Cake mix -- buy a box that does not have pudding mix added like Duncan Hines
1 Box Vanilla Instant Pudding
4 eggs
8 oz Sour Cream
--
1 cup semi-sweet Chocolate Chips
2 tbsp flour
Pam or similar spray

Bake at 350 degrees Fahrenheit


Instructions:
  1. Melt butter in microwave in 30 second intervals.
  2. Add all ingredients above the dashed line to your mixer and beat on high speed for EIGHT minutes.  Please mix for the full time -- if you don't, then the cake will not rise as much.
  3. In a plastic bag, add an oversized cup of chocolate chips and 1 tbsp flour.  Coat the chips thoroughly.  Add the chocolate chips to the cake and mix in with a spatula.
  4. Spray your bundt pan with Pam and coat with flour.  Make sure you coat the whole pan with flour so that your cake does not stick.
  5. Spread the batter evenly in the pan.
  6. Bake for 50-70 minutes.

This cake is even better when made a day or two ahead of time.

Bring to a Party and Share with Friends :)


Friday, July 13, 2018

Everything but the Kitchen Sink Cookies

Everything but the Kitchen Sink Cookies
Yield: dozens of cookies or 1-8" brownie pan plus leftovers to freeze


Do you have stale oreos in the house?  Do you love oreos?  How about cake and sprinkles?  If you love any or all of these ingredients you must try this recipe!  Whenever I have stale oreos and/or graham crackers I make these cookies.  You can, of course, use non-stale ones!  What I love about this recipe is the versatility.  Everytime I make it I add different ingredients in varying amounts.  Make these cookies what YOU want! 
The amount of cookies you get will vary based on the ingredients you put into it.  The more ingredients, and the higher the amounts, the more cookies!
I was lazy and didn't want to scoop out cookies, even thoug I just bought a brand new, small cookie scoop that would have been perfect.  Therefore, I made cookie bars!  

Before getting into the recipe, I want to thank Sally from Sally’s Baking Addiction for the idea behind this recipe — she is the inspiration for these cookies.


Ingredients:
3/4 cup (1.5 sticks) butter (I used Land O'Lakes)
3/4  cup granulated sugar
1/4 cup brown sugar
2 large eggs
1 tbsp vanilla
1/2 tsp baking soda
1 1/4 cup all-purpose flour
1 cup funfetti cake mix (can substitute vanilla cake mix plus 1/4 cup sprinkles)
*3/4 cup semi-sweet chocolate chips
*1/2 cup sprinkles (any variety/colors)
*10 oreos (crushed into 1/4s -- can be any flavor, but I used mega stuffed)

*These ingredients can be added to or substituted with whatever you want.  Everytime I make these cookies I add different ingredients, but these make up my core.  Other ingredients to add include butterscotch chips and crushed graham crackers.  Add whatever is going to make you happy, as long as it is a solid (ie. no peanut butter)!  If you are going to add an additional type of chocolate, I suggest adding 1/2-2/3 cup each, as 3/4 of a cup will be overpowering.

Bake at 350 degrees Fahrenheit.


Instructions:

  1. Cream softened butter in a mixer (keep butter wrappers for later)
  2. Add in both sugars, and beat until incorporated.
  3. Mix in vanilla, 1 egg, and 1 egg-white.
  4. Gradually add in the baking soda and flour.  When incorporated, add in the cake mix.
  5. Start with the sprinkles and chocolate, mix in fully.  Please be sure to scrape down the sides so that your *fun* ingredients get evenly distributed.
  6. Last, add in your crushed oreos.  You do not need to crush them into very small pieces as the mixer will do this for you.  Please know that the longer you mix the cookie dough at this point, the smaller your oreos will be.
  7. Grease your cookie sheet or brownie pan with the butter wrappers.
  8. For cookie bars: add the dough to the brownie pan and evenly distribute cookie dough.  Use your hands to make sure the dough is evenly distributed.  Add to desired thickness, but not more than 1/2 way up the side of the pan.  I have leftover dough and put it in a container.  You can leave it in the fridge for ~3 days or place in the freezer for ~3 months. Please note that you can also put these in the fridge here before baking..I put mine in the fridge for about 15 minutes because I made a sprinkle mess I had to clean up!
  9. For cookies: refrigerate the dough so that it doesn't spread and become very thin during baking.   You can either scoop the dough onto the baking sheet and put in the fridge for 20-30 minutes, or refrigerate the dough and then scoop.  Bake cookies for ~10 minutes.


Enjoy Amongst Friends!

Monday, July 2, 2018

Brown Butter Independence Day Cookies

Brown Butter Cookies - July 4th!
Yield: ~32 cookies

The 4th of July is right around the corner, and I was wondering what I could bake to celebrate this holiday.  I had many ideas, ranging from cakes to cupcakes to cookies of all different types.  I finally decided on making Brown Butter Cookies and jazzing them up with sprinkles.  The good part about this recipe?  You can change the sprinkle color to celebrate any holiday!

These brown butter cookies have a nuttier taste, with a soft, melt in your mouth center.  These cookies should satisfy the whole crowd!


Ingredients:
1 cup unsalted butter
1 cup golden brown sugar
1/2 cup granulated sugar
2 large eggs
1 tsp vanilla
1 tsp baking soda
1 tsp salt
2 1/4 cups all-purpose flour
Red, White, and Blue Sprinkles

Bake cookies at 350 degrees Faranheit

Recipe:


  1. Melt butter in a sauce pan until golden.  It took about 10 minutes for the butter to turn brown.  I did this over low to medium heat.
  2. Pour the butter into a heat-proof bowl and let sit for 5 minutes.  I used a kitchen aid mixer, and poured the butter directly into my mixing bowl.  I would suggest using a mixer for this recipe.
  3. Beat butter for 30 seconds, then add in the brown sugar, mixing until there is a dark brown color consistency.
  4. Add in 1/2 cup granulated sugar.  You will notice that the butter-sugar mixture will take on a more solid consistency.
  5. Mix in the eggs and vanilla.
  6. Add in the baking soda, salt, and 1/4 cup of flour.  Mix until incorporated.  Add in the rest of the flour, a little at a time, until fully mixed.
  7. Place the dough in the refrigerator for at least 25 minutes.  This step is really important.  If you try and scoop out the dough now, you will notice that it is very liquid-y and you won't be able to form a shape. This will be a good time to heat up the oven, or leave in the fridge for a day until you want to bake cookies.
  8. Mix Red, White, and Blue sprinkles in equal proportion.  I used a total of 4 tsp for each color, but this will vary depending on sprinkle use.
  9. Scoop dough out onto a GREASED baking sheet (I used a Zeroll 2040 EZ Disher, but you can definitely use a smaller scoop size to make more cookies).  Taking the back of a spoon, flatten out the dough.  Add sprinkles to the top.  Make sure that you press the sprinkles into the dough; this will ensure that sprinkles do not get lost in your oven later.  As the dough will spread during the baking, make sure that you add sprinkles all the way to the sides of the dough.  What looks like a lot of sprinkles now, won't look like a lot later.
  10. Put the tray into the fridge for 5 minutes.  If your refrigerator is too small for this, you can probably skip this step.  Just make sure to move through step 8 fast, and watch the baking time as it might decrease.  I would not suggest transferring the dough balls between trays/ containers once formed.
  11. Bake for 9-11 minutes.  Watch the cookies carefully at the end.  It only takes about 30 - 60 seconds to over0-cook these cookies.  They will be a darker, more golden brown due to the base of the cookies being a browned butter and brown sugar.
  12. Let cool for 2 minutes and then move to a wire rack.


Share with Friends and Enjoy!